How to make an anatomical illustration for your paper
A clear anatomical illustration shows structure and the relationships between parts better than any paragraph. You don't need a medical illustrator: describe the region and what to highlight, and get a clean illustration with textbook accuracy.
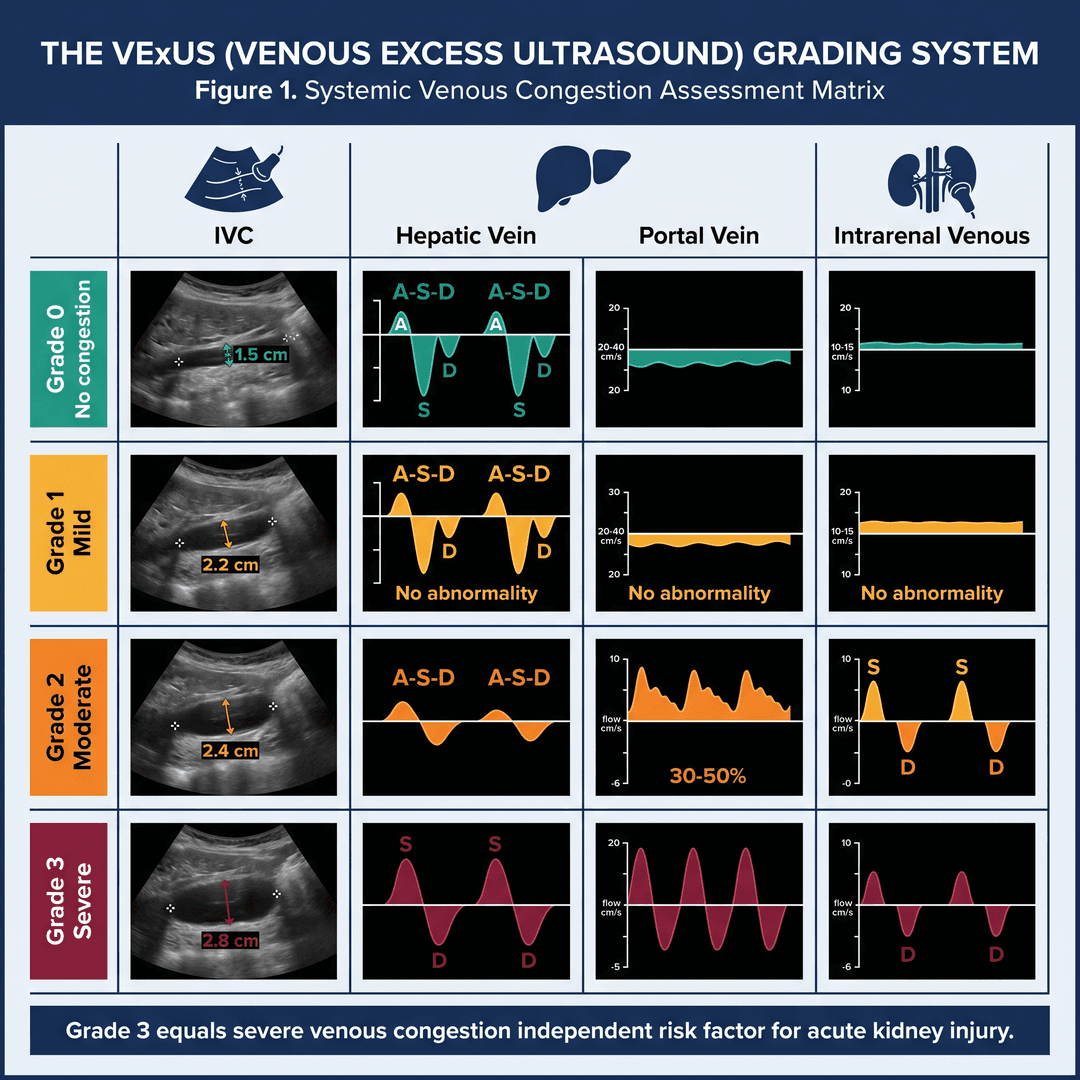
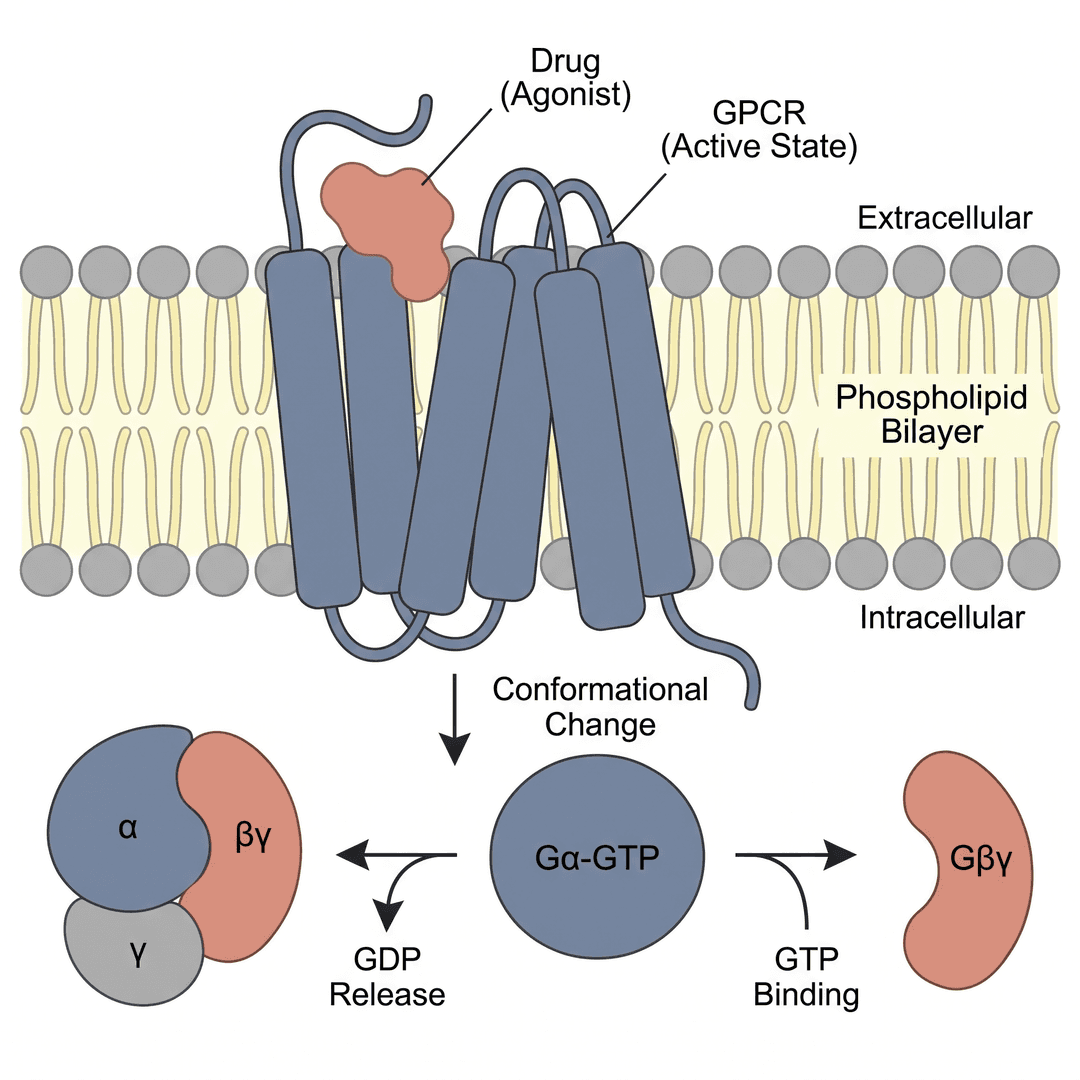
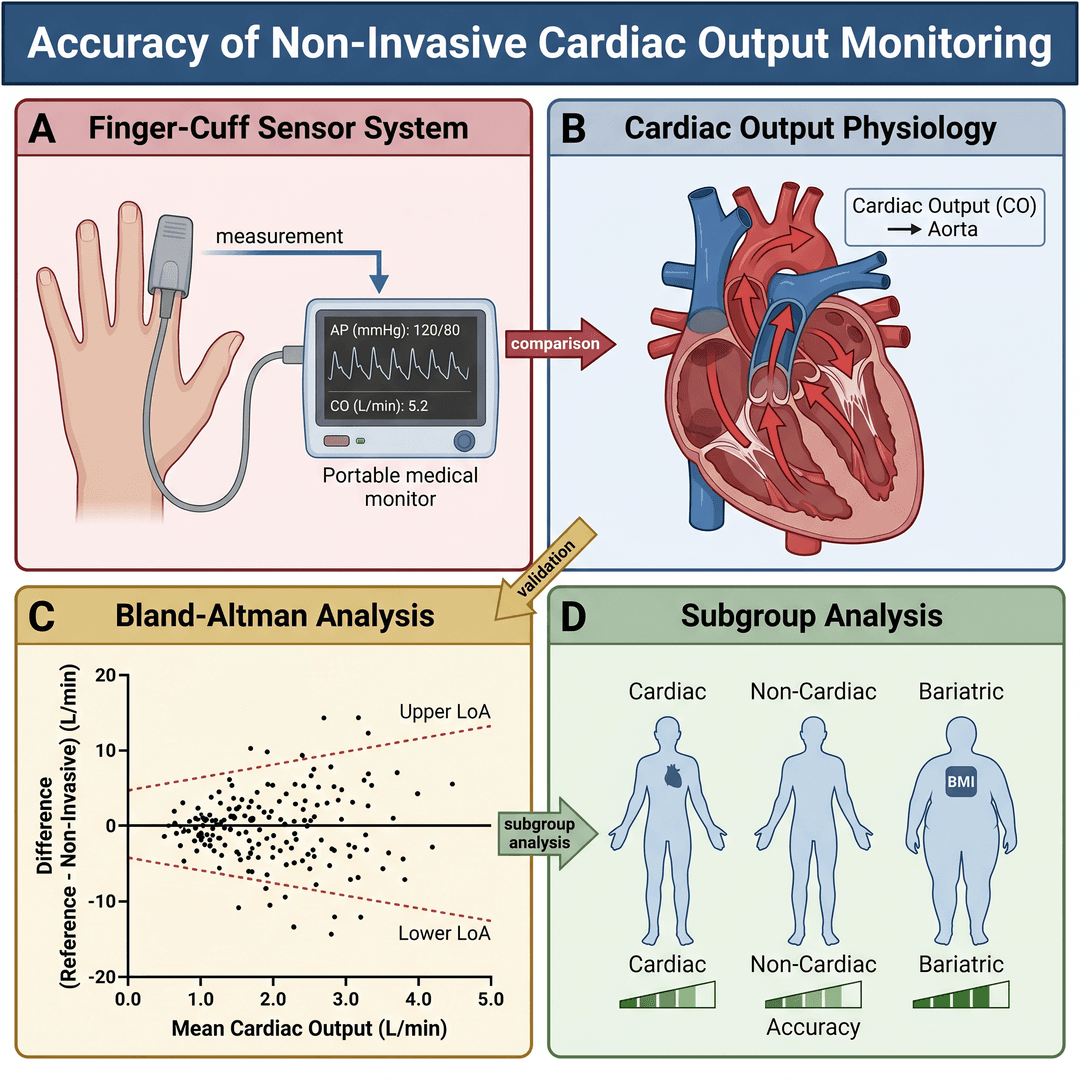
What a good anatomical illustration is
It's a precise drawing of a structure — often a cross-section where that clarifies — with each part labeled by a leader line pointing to a short, real name. Clean linework, a restrained clinical palette, no painterly shading that muddies the read.
What makes the figure work
Plausible anatomical accuracy, clear hierarchy (the structure of interest highlighted), legible labels with tidy leader lines, and a section or view that reveals exactly what the text discusses. An anatomical illustration is a map: every label has to point to the right place.
Where an anatomical illustration helps
To locate a nerve block or a surgical plane, show a catheter's path, situate an imaging finding, or teach a spatial relationship in a lecture. When the message is 'where' and 'how it connects', drawn anatomy communicates in seconds.
- 1Describe the region and focus
e.g. "cross-section of the neck at the brachial plexus, highlighting the block target and neighboring structures".
- 2The assistant builds the illustration
It sets the view/section, the structures, and leader lines with short names, in textbook style. You review it before spending a credit.
- 3Generate and export
Get it in seconds and download PNG, TIFF 300 DPI, or PDF — for the paper or the slide.
Create your anatomical illustration now
Describe the region and get a clean, labeled anatomical illustration in seconds. No subscription — pay only for what you use.
Start a new figure